Installing Bionic#
Step 0: Setup#
Before anything else, we need to ensure you have access to modern Kubernetes cluster and a functioning kubectl command on your local machine. (If you don’t already have a Kubernetes cluster, one easy option is to run one on your local machine. There are many ways to do this, including kind, k3d, Docker for Desktop, and more.)
Validate your Kubernetes setup by running:
kubectl version
The bionic installer simplifies a lot of the setup. To install it run the following.
Step 1: Install the CLI#
curl -OL https://github.com/bionic-gpt/bionic-gpt/releases/latest/download/bionic-cli-linux && mkdir -p $HOME/.bionic && mv ./bionic-cli-linux $HOME/.bionic/bionic && chmod +x $HOME/.bionic/bionic
Be sure to follow the instructions to add it to your path:
export PATH=$HOME/.bionic:$PATH
and export the path to the kubeconfig file.
export KUBECONFIG=/etc/rancher/k3s/k3s.yaml
Check the installation
bionic -V
# k8s-operator 1.6.26
Step 2: Run the Install#
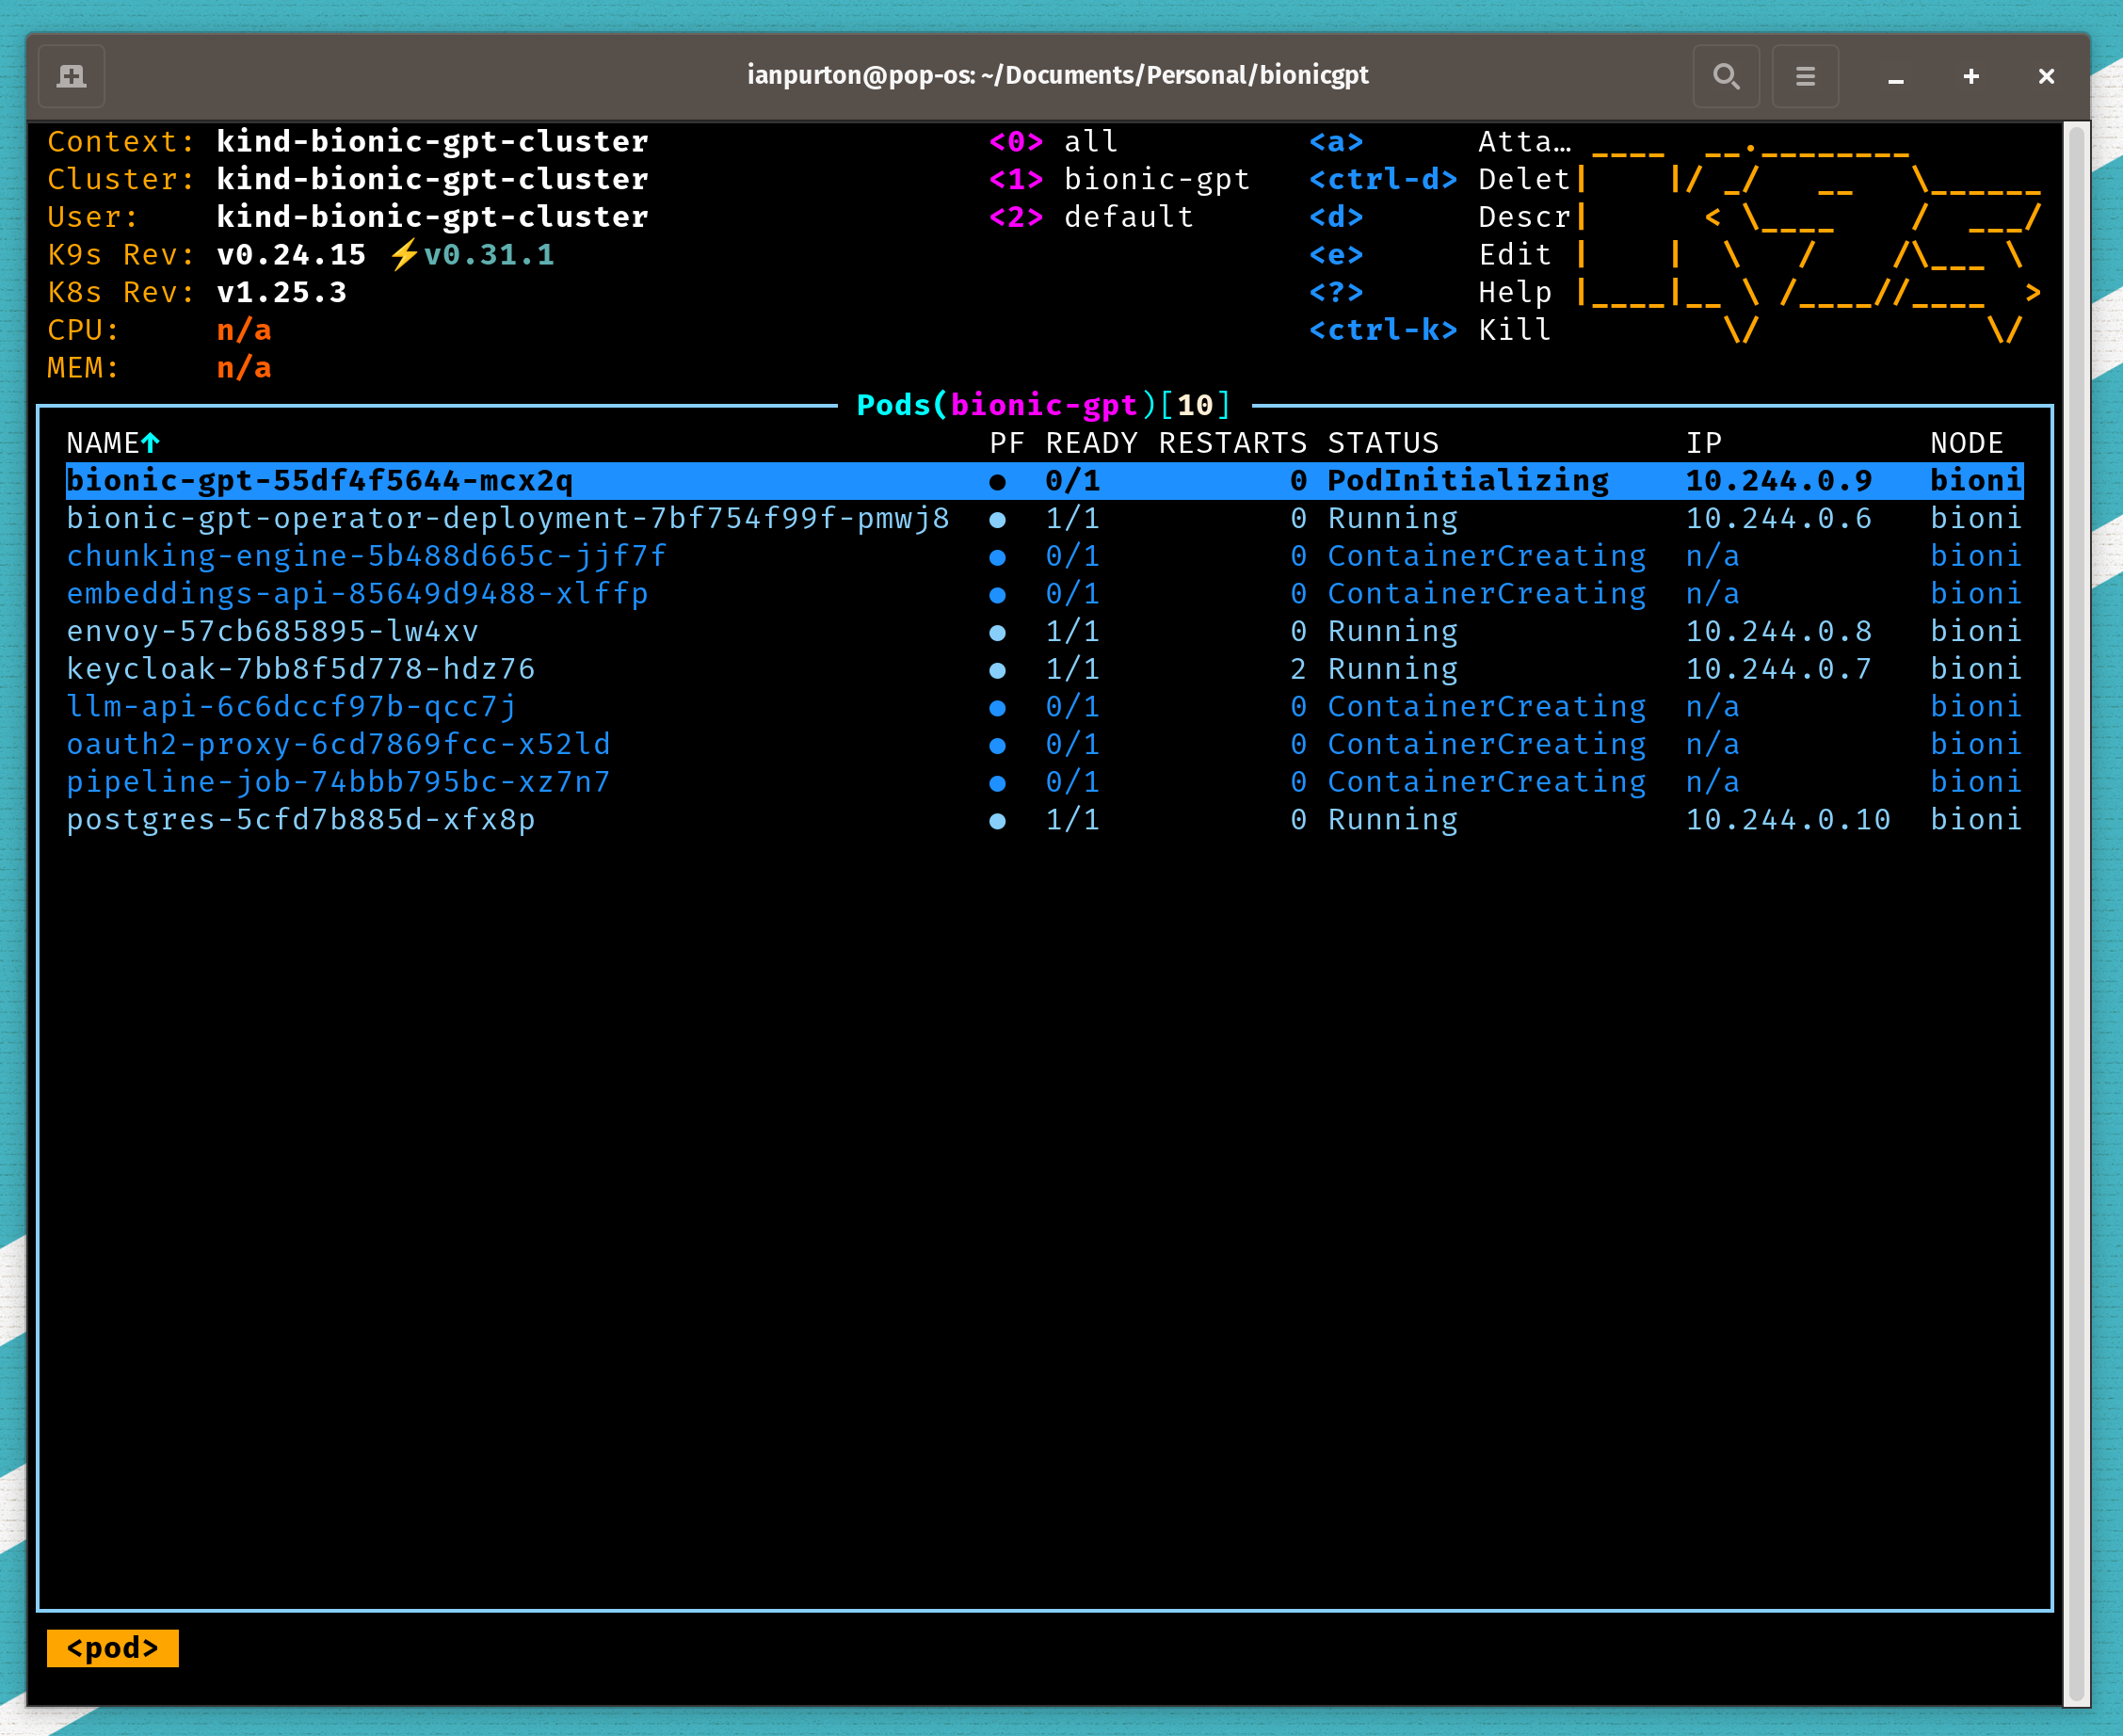
The following will install k3s as our kubernetes engine and then install bionic into the cluster. It will also install k9s which is a terminal UI for Kubernetes.
bionic install
Step 3: The Finished Result#
You can install k9s which is a great way to get insight into your cluster.
curl -L -s https://github.com/derailed/k9s/releases/download/v0.32.4/k9s_Linux_amd64.tar.gz | tar xvz -C /tmp && sudo mv /tmp/k9s /usr/local/bin && rm -rf k9s_Linux_amd64.tar.gz
and then.
k9s
After a while of container creation you should see all the pods running and then be able to access Bionic.
Step 4: Run the User Interface#
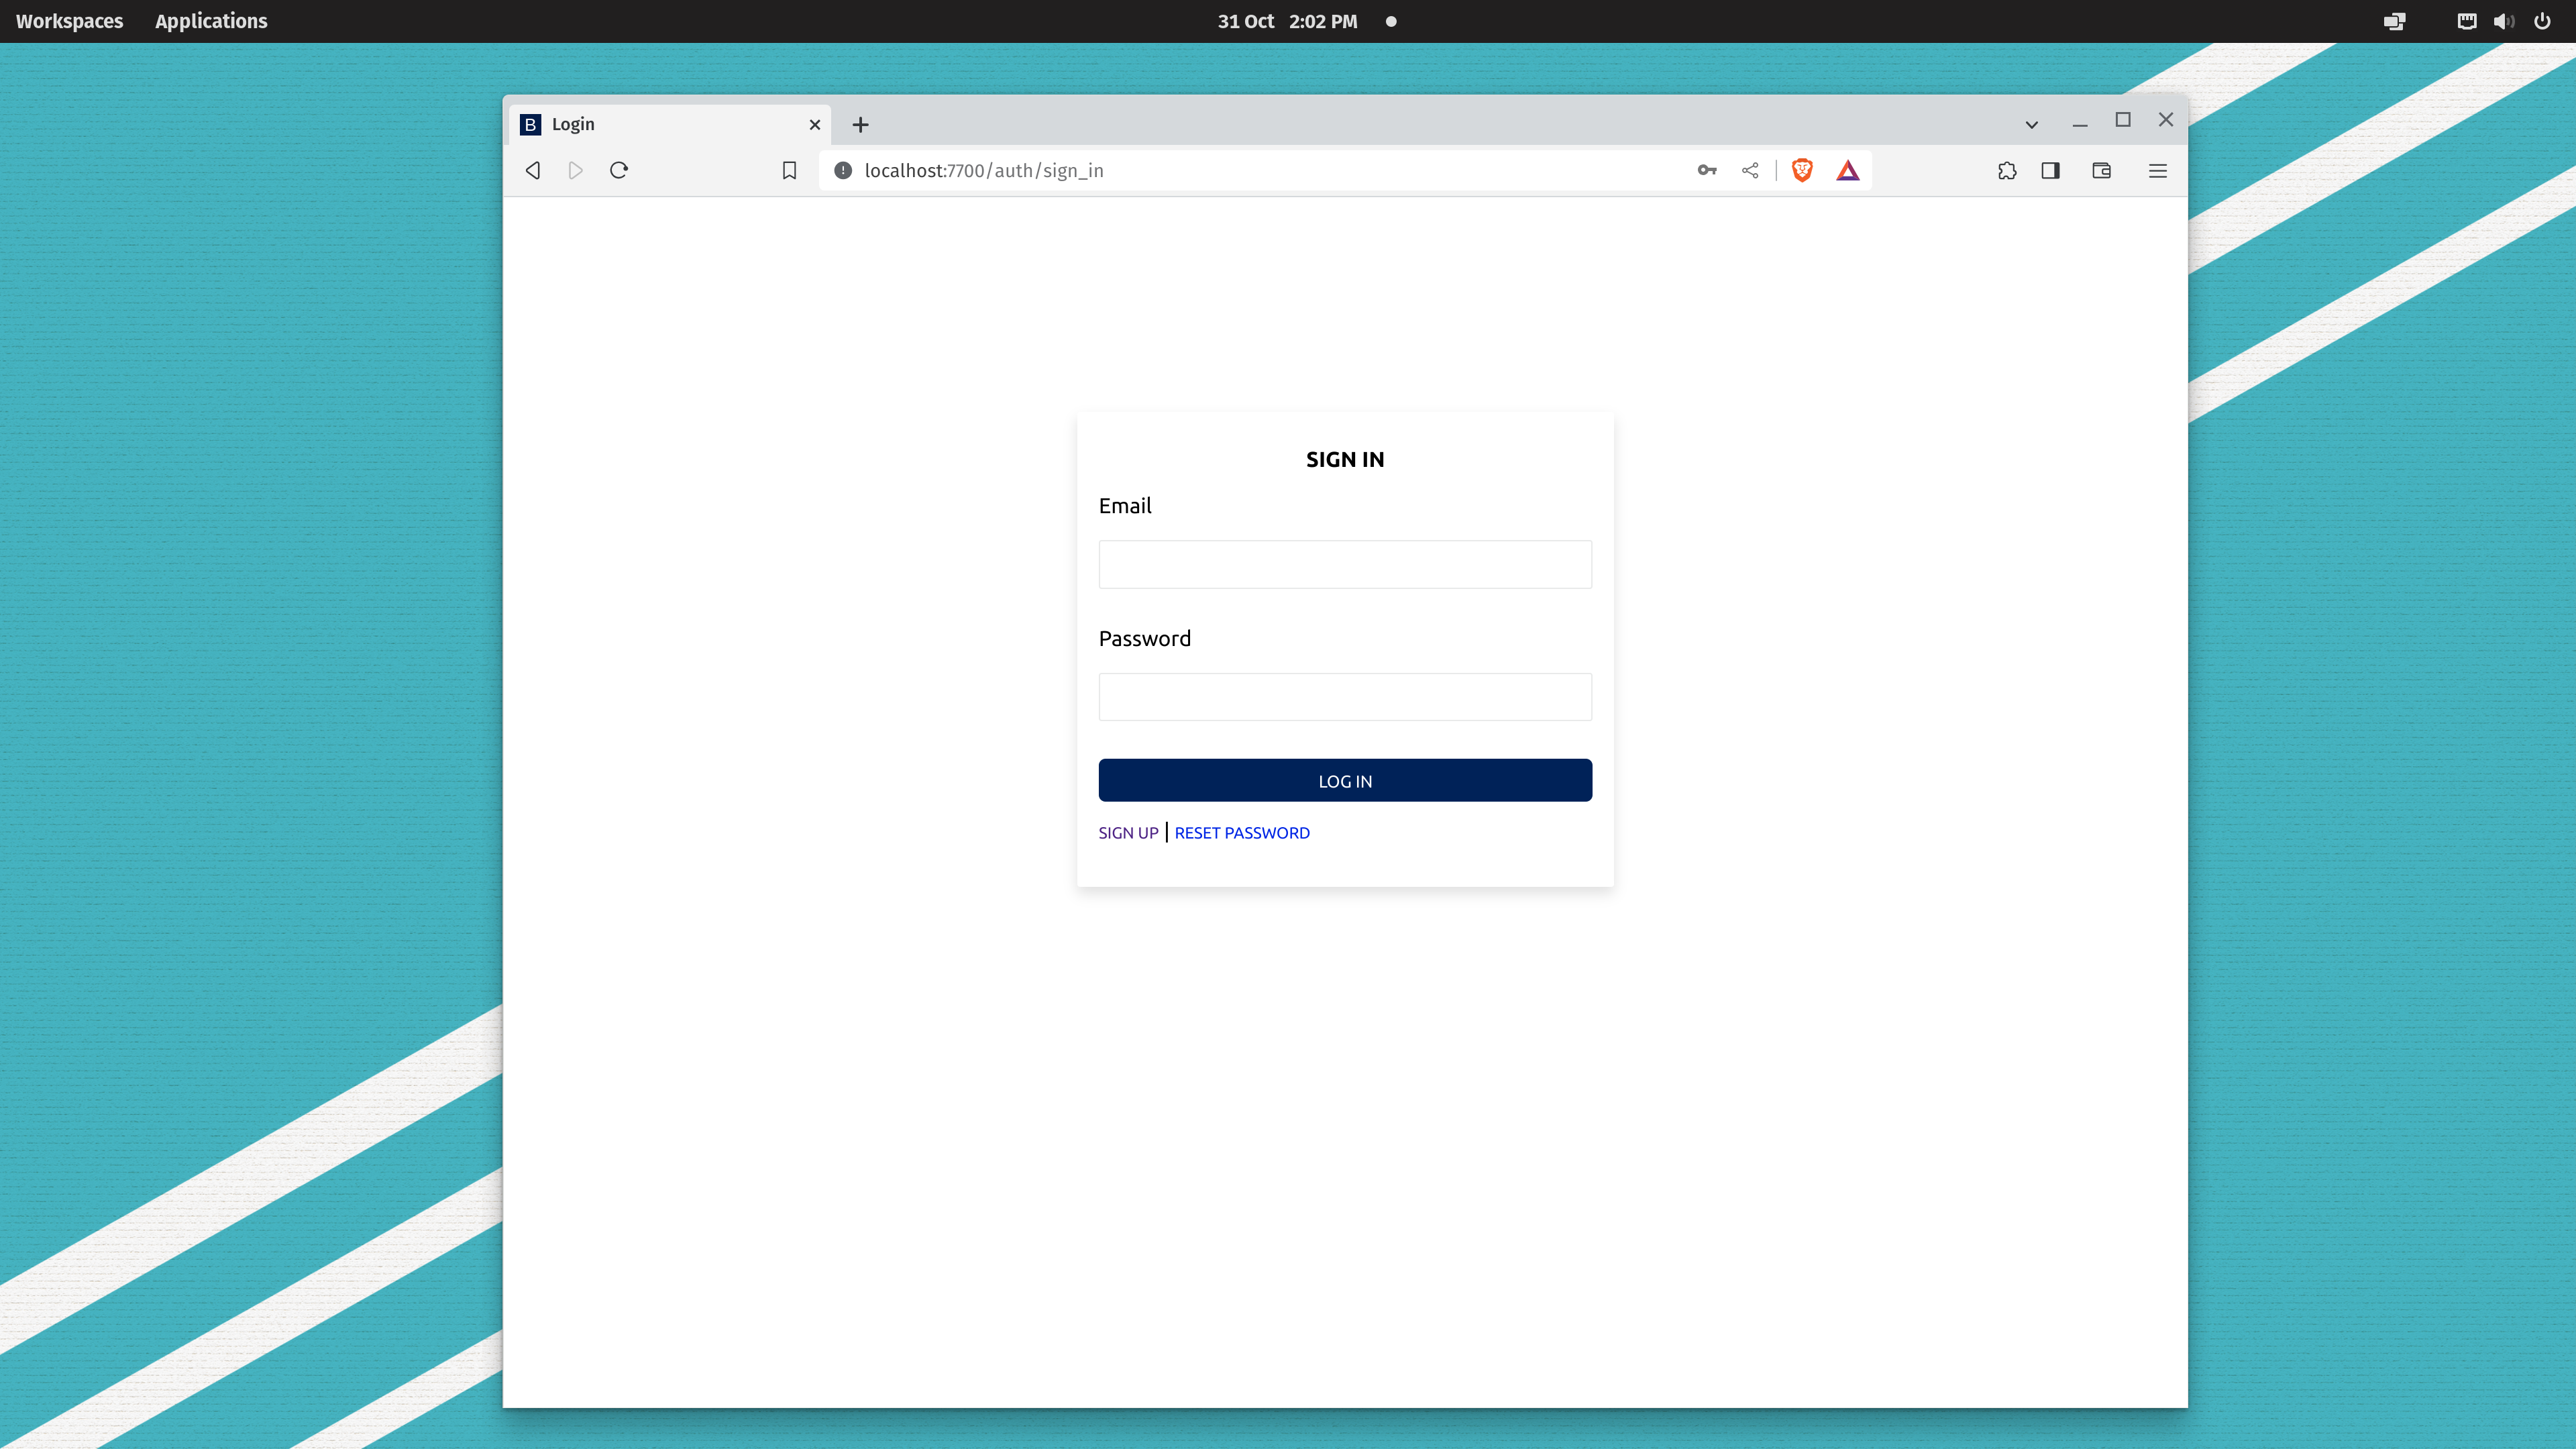
You can then access the front end from http://{YOUR_IP_ADDRESS} and you’ll be redirected to a registration screen.
To get your ip address
hostname -I | awk '{print $1}'
Step 5: Registration#
The first user to register with BionicGPT will become the system administrator. The information is kept local to your machine and your data is not sent anywhere.